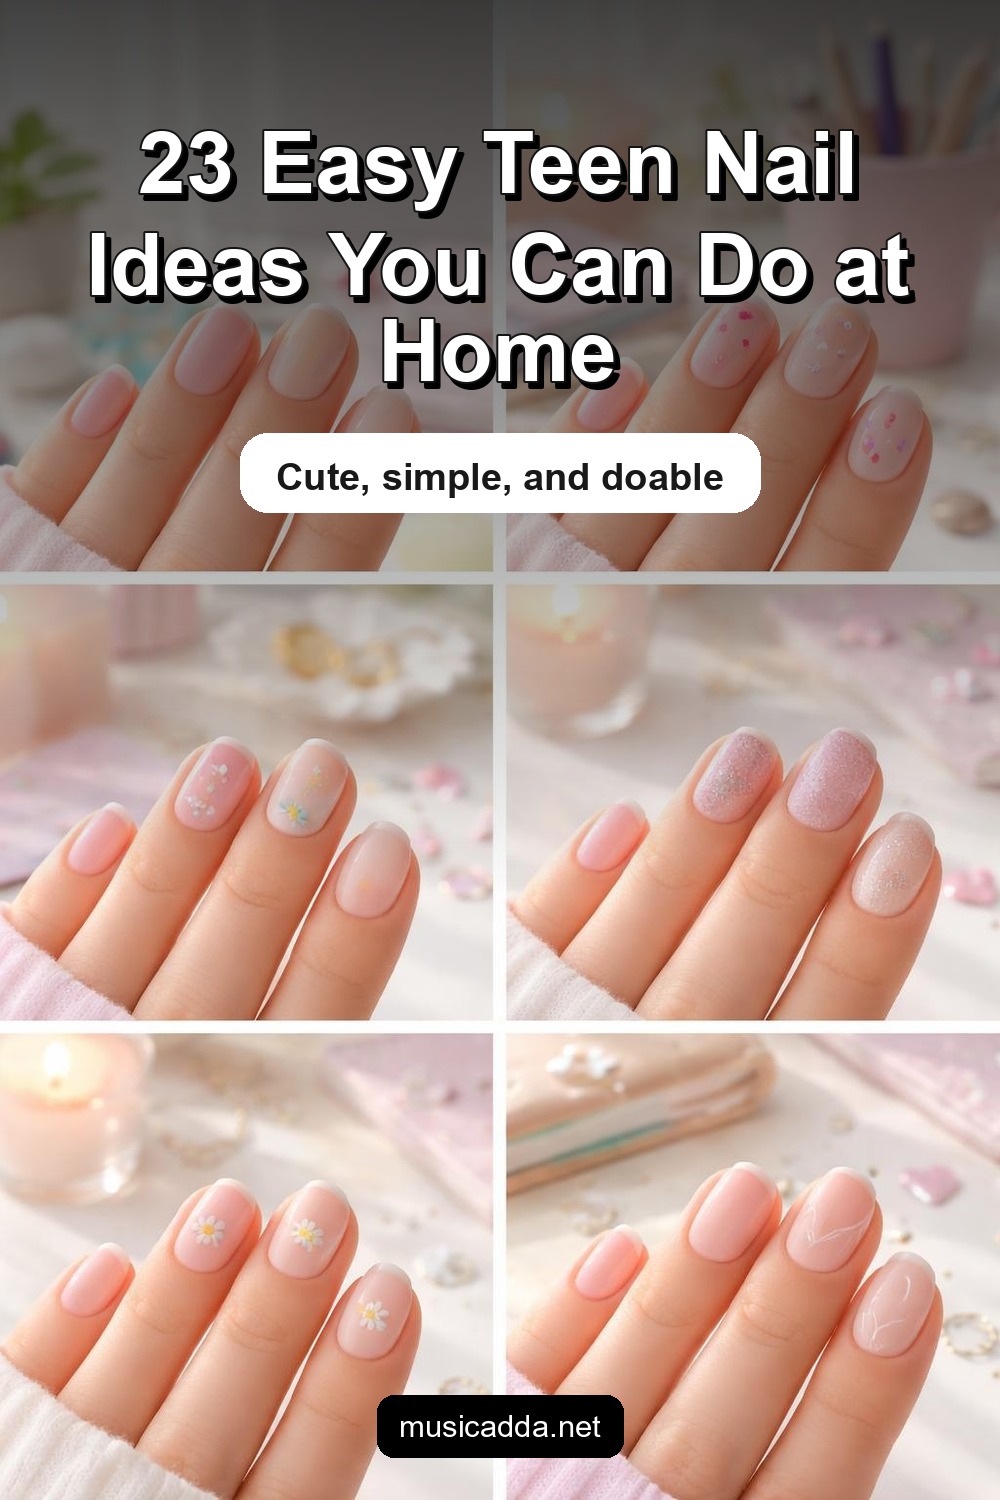
Teen nails are one of those little beauty projects that can go wrong fast if you start with something too complicated. The polish chips, the design looks messy, and suddenly the whole thing feels frustrating instead of fun.
That’s why I like keeping teen nail ideas simple. If you ignore that and chase designs that need a steady hand and half a salon kit, you usually end up repainting the same nails twice. In this article, I’m sharing easy looks that feel cute, wearable, and realistic enough to do at home without turning your room into a nail station.
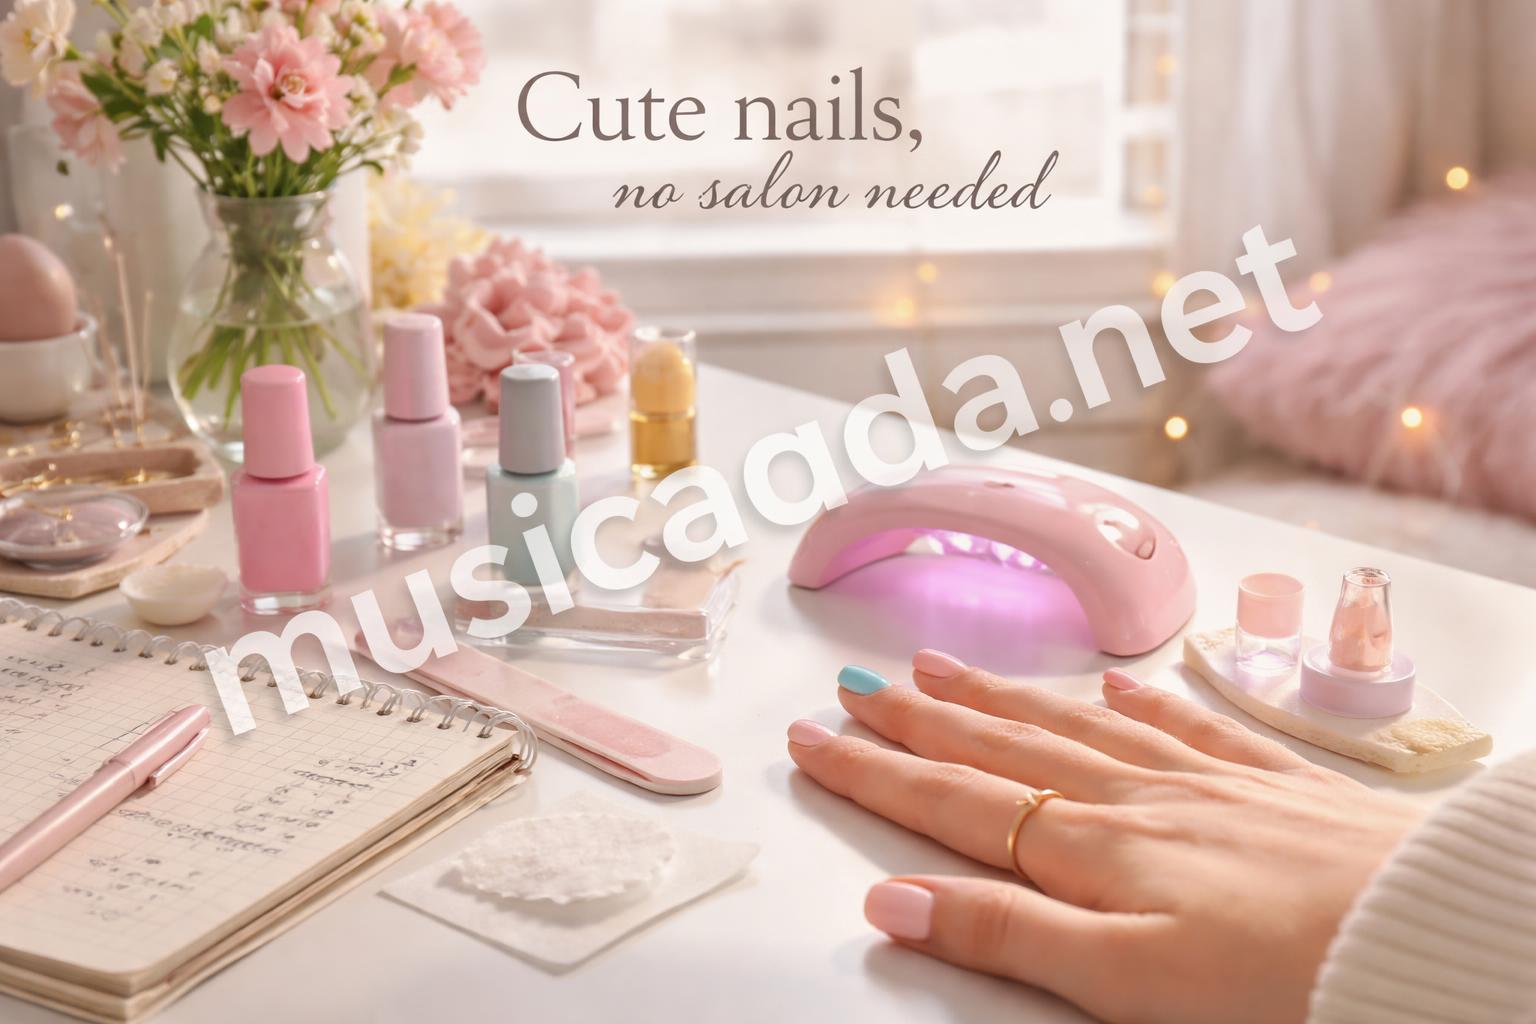
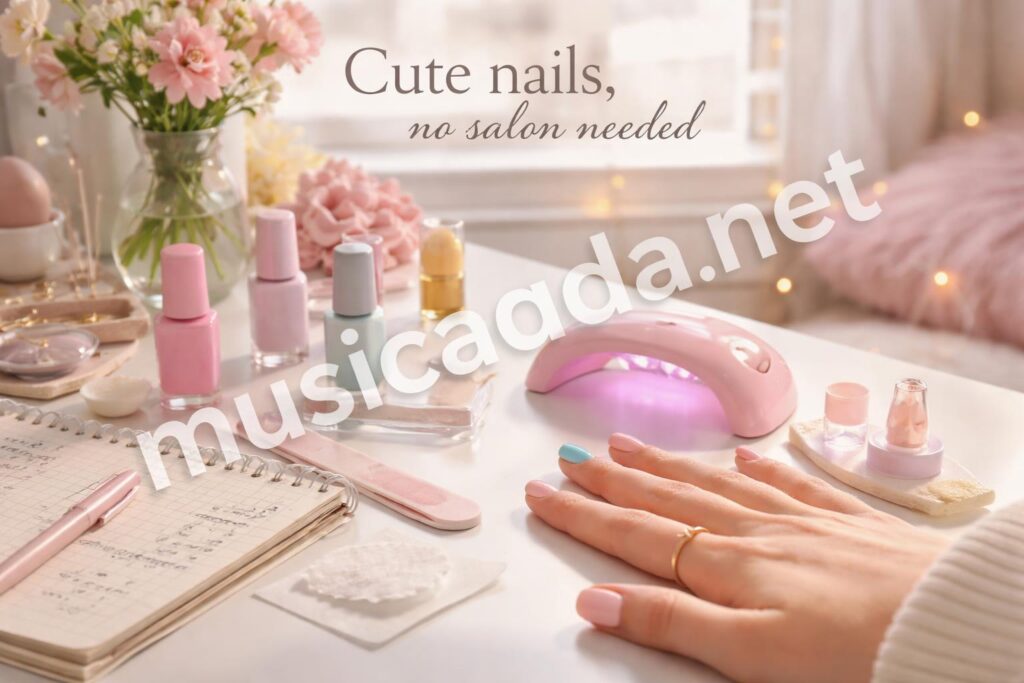
Why simple teen nail ideas work so well
The best nail looks for teens usually do one thing well: they look intentional without needing perfect technique.
That matters because most at-home manicures don’t happen in ideal conditions. You might be painting after homework, between plans, or while trying not to smudge wet polish on your phone case.
A few tiny things make a big difference:
- Shorter shapes are easier to maintain.
- Muted or pastel colors hide small mistakes better.
- Tiny accents look cute without needing much precision.
- Press-ons and stickers help when you want a quick finish.
I’ve noticed that the more complicated the design, the more likely it is to look uneven on the second hand. That’s completely normal. The good news is, simple usually looks better anyway.
23 teen nail ideas that are actually easy to copy
1. Pastel rainbow tips
Paint each nail a different pastel shade, or just add the colors as tiny tips. It feels playful without looking too busy.
This is one of those teen nail ideas that works on short nails and longer nails alike. And if one color goes a little streaky, it still blends in with the rest.
2. Tiny smiley faces
A pale base with one small smiley on each accent nail is simple and fun. You can use a dotting tool, a toothpick, or even a bobby pin.
The trick is to keep the face tiny. Big smileys can start looking clunky fast.
3. French tips with a twist
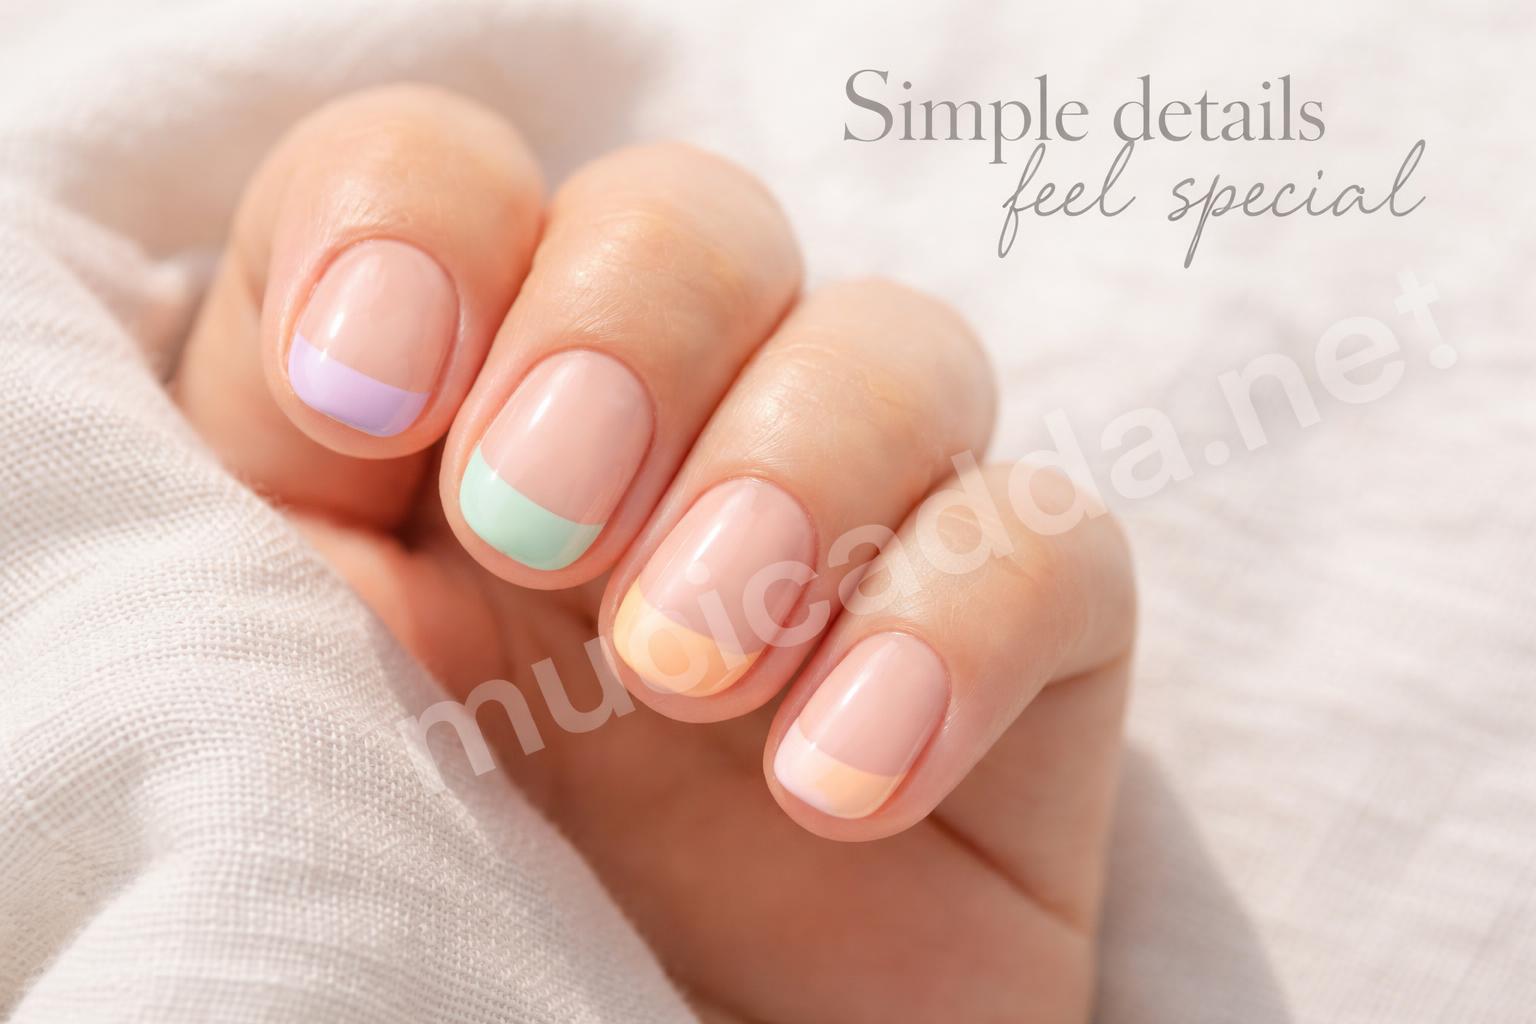
Classic French tips are nice, but colored tips feel more teen-friendly. Try lavender, mint, peach, or even black if you want something cooler.
For a cleaner finish, use sticker guides or a thin brush. I learned pretty quickly that freehand tips look cute only when the brush is cooperating.
4. Cloud nails
Use a sheer blue or pink background, then add soft white cloud shapes. They look dreamy and still feel easy enough for beginners.
A sponge can help blur the base a little, but it’s not required. Slight unevenness actually makes them look more casual.
5. Checkerboard accent nails
You don’t need to cover every nail. One or two checkerboard accents with solid nails around them is enough.
This is a good choice if you like bold nails but don’t want the whole set to feel loud.
6. Glitter fade
Glitter at the tips or along one side of the nail gives you sparkle without full coverage. It’s also forgiving if your application gets a little uneven.
If you want the easiest version, start with a clear or nude base and brush glitter on top while it’s still wet.
7. Tiny hearts
Little hearts on a nude, pink, or clear base always look cute. They’re especially nice on accent nails or ring fingers.
If you’re doing them by hand, make two dots and pull them together into a point. That’s usually easier than drawing a heart from scratch.
8. Two-tone nails
Split each nail into two colors. You can do vertical halves, diagonal sections, or soft color blocking.
This idea is great when you want something modern but not too polished. It also hides minor mistakes better than a super detailed design.
9. Minimal stars
A few small stars on a sheer base make nails look thoughtful without trying too hard. Silver stars are especially easy because they pop on almost any color.
I like this style for school weeks, because it looks cute without feeling like it’s competing with everything else.
10. Daisy nails
Tiny daisies on a pale background are a classic teen choice for a reason. They’re bright, soft, and easy to customize.
You only need a small white flower shape and a yellow dot center. That’s it.
11. Nude nails with one bold line
Paint the nails nude, then add one thin colored line near the tip or cuticle. It looks clean and a little artsy.
This style is one of the easiest ways to make simple nails feel intentional. It doesn’t scream for attention, which is kind of the point.
12. Jelly nails
Sheer, translucent polish gives a glossy, candy-like finish. Pink, lilac, and peach are especially pretty.
If your polish is too opaque, just thin it with a clear top coat to get that soft jelly look.
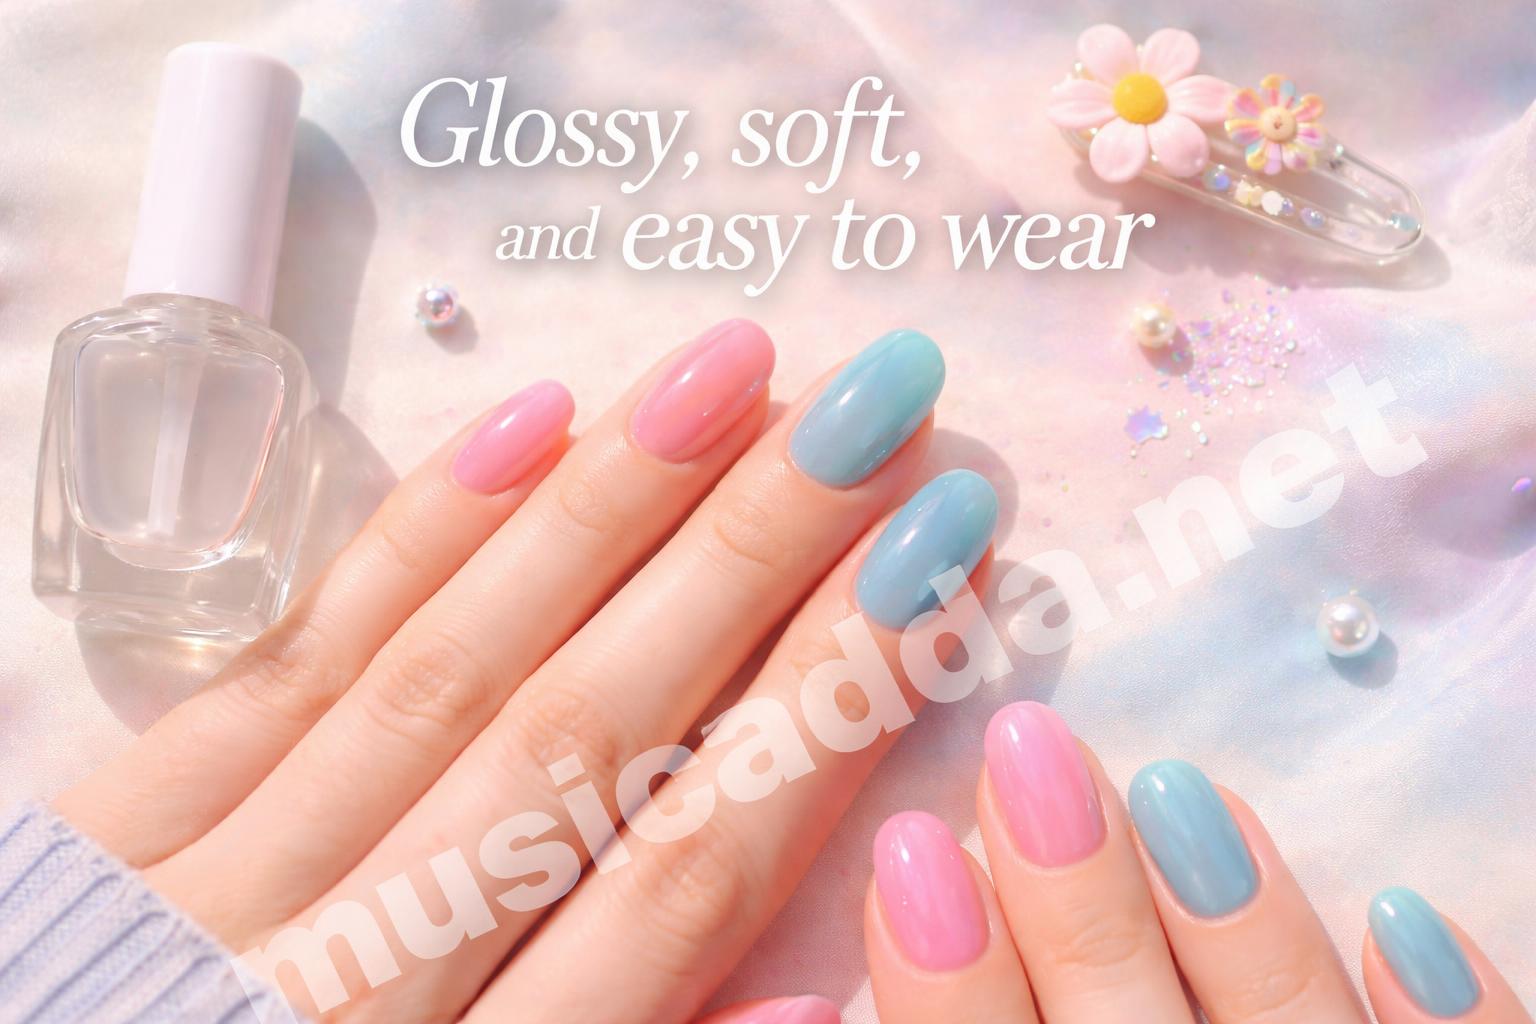
13. Mismatched color set
Pick 4 or 5 coordinating colors and paint each nail a different shade. It feels relaxed and trendy at the same time.
This is one of the easiest teen nail ideas for people who can’t decide on just one color. Honestly, that’s most of us.
14. Polka dots
A plain base with tiny dots can look cute, quirky, and low-effort. Black dots on white or white dots on pastel shades work especially well.
If your dots aren’t perfect, that’s fine. The design looks more playful when it’s a little irregular.
15. Soft ombré
Blend two colors together for a faded effect. You can use a makeup sponge or a small brush, depending on what you have at home.
Ombré sounds fancy, but it can be surprisingly forgiving. The color shift hides a lot more than straight lines do.
16. Cherry nails
Tiny cherries with green stems give you a sweet, retro vibe. They’re cute on short nails and perfect for accent nails.
The design only looks hard. Once you do a few cherries, it clicks pretty fast.
17. One-color gloss with chrome top coat
If you want something simple but extra shiny, start with one solid color and add chrome powder or a reflective top coat.
The finish does most of the work here. You don’t need a lot of nail art when the shine already stands out.
18. Mixed nude and glitter nails
Alternate nude nails with a couple of glitter nails. It gives you balance, and it’s easy to maintain if one nail chips early.
I’ve seen this work especially well when someone wants a dressy look without going full glam.
19. Mini butterflies
Tiny butterfly stickers or hand-painted butterflies can make nails feel soft and pretty. Use them on one or two accent nails so the design doesn’t get crowded.
Sticker versions are a good option if you’re still practicing your brush control.
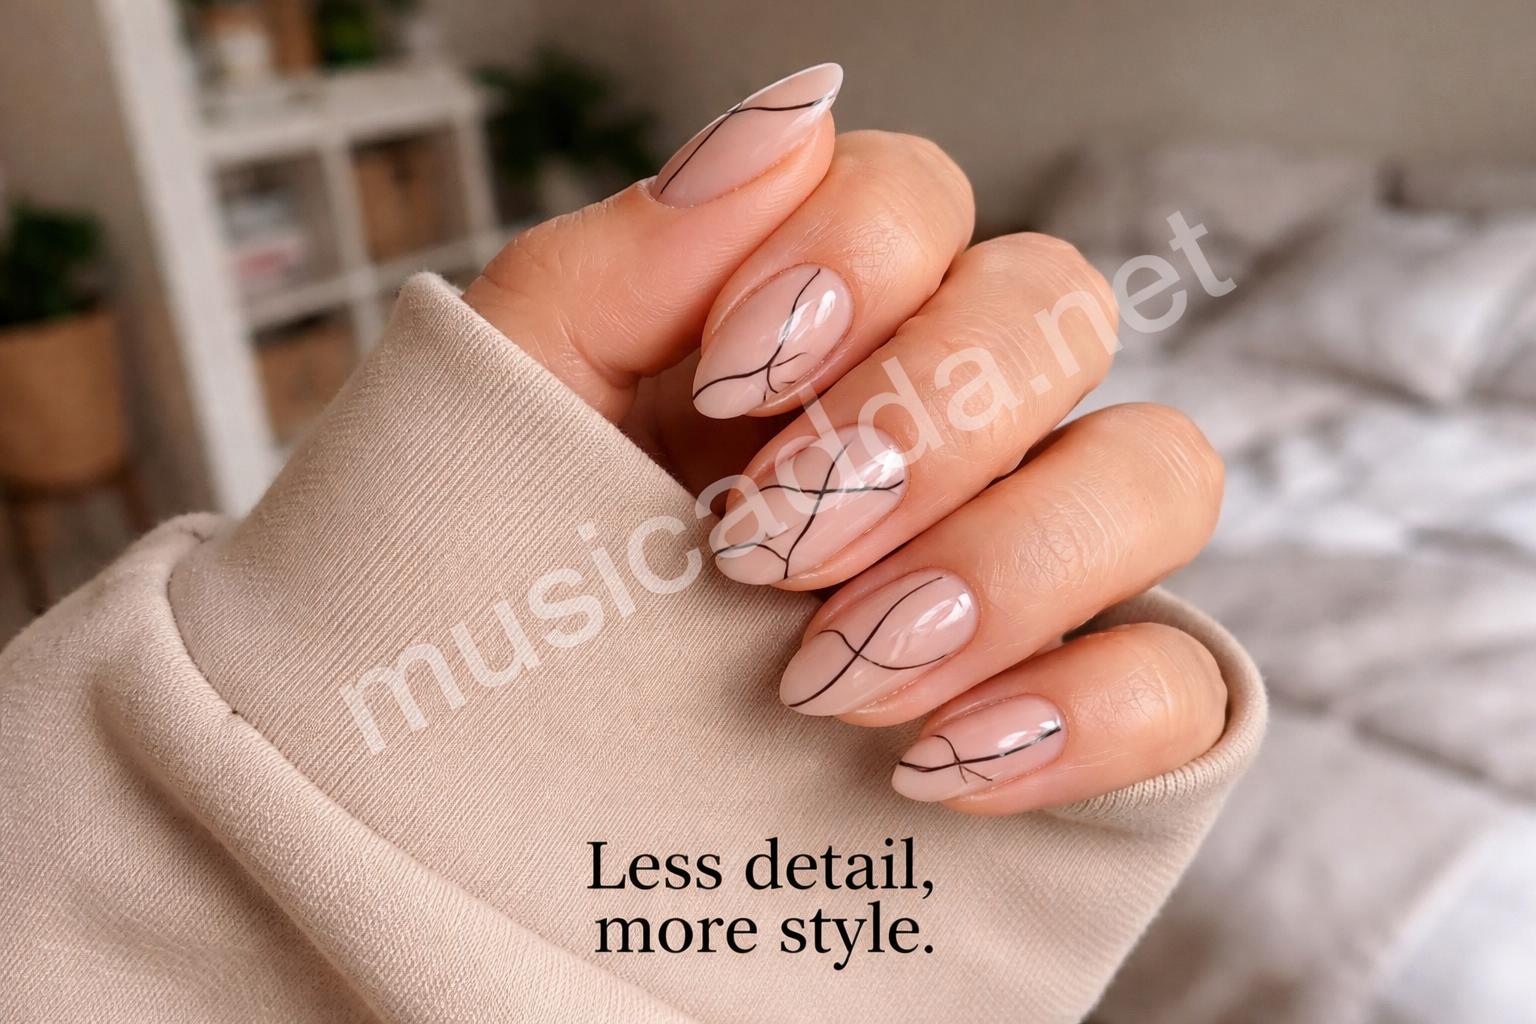
20. Black line art
A sheer pink or beige base with thin black squiggles, faces, or abstract lines looks modern and simple.
The key is to keep the design light. If you add too many lines, it starts losing that easy, cool look.
21. Candy stripes
Thin stripes in pastel or bright colors can make nails feel playful without much effort. They also look great on short nails.
A striping brush helps, but tape can work too if you’re patient. The annoying part is waiting for the first layer to dry enough.
22. Pearl details
Tiny pearl stickers or dots make a manicure look soft and pretty. Use them on one or two nails so the design stays wearable.
This is a nice pick when you want something girly but not too sweet.
23. Clear nails with one accent design
If you want the easiest idea of all, keep most nails clear or sheer and decorate just one accent nail on each hand.
That approach looks clean and makes the manicure feel balanced, even if the nail art is very simple.
How to make teen nail designs look cleaner at home
A nice design can still look off if the prep is messy. That’s the part people skip first, and then they wonder why everything lifts or chips so fast.
A few small habits help a lot:
- Clean the nail surface first.
- Use thin coats instead of thick ones.
- Let each layer dry before adding more.
- Seal the edge with top coat.
- Avoid touching the cuticle with polish.
For a broader skin-safe routine, I like checking basic guidance from the American Academy of Dermatology when nails feel dry or brittle. It’s not glamorous, but it does help.
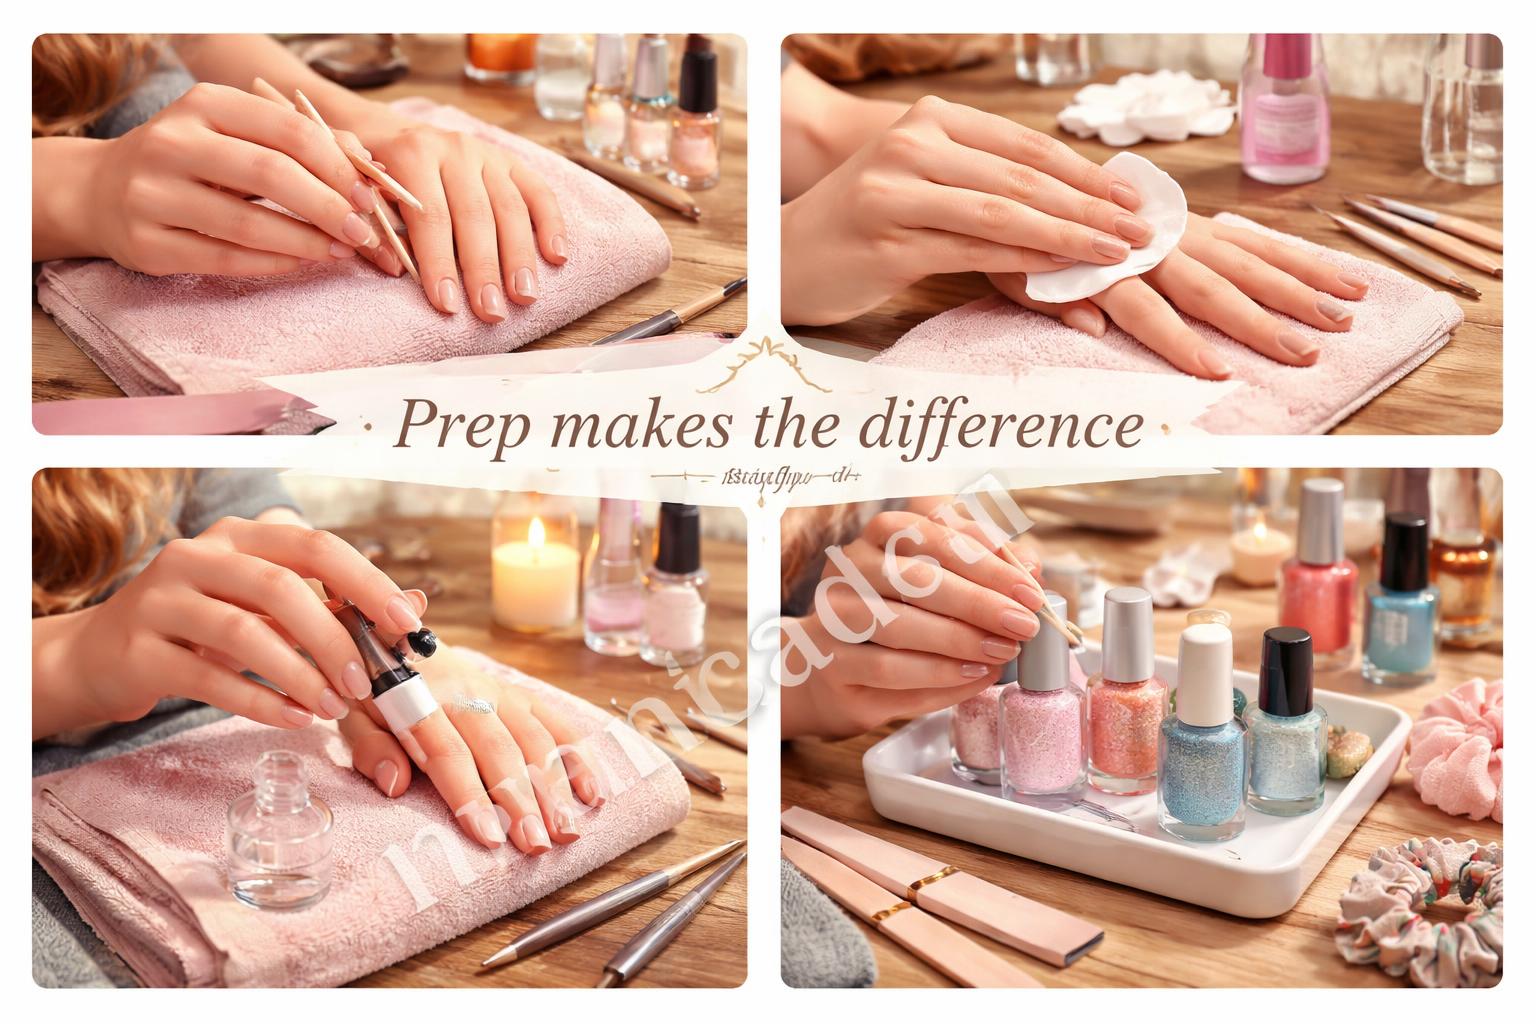
A quick prep reminder
- Push back cuticles gently, don’t cut too much.
- Wipe nails clean before polishing.
- Keep a small cleanup brush nearby.
- Don’t rush the top coat.
That cleanup brush is one of those little things I didn’t care about at first, and then I realized it saves the whole manicure.
Small mistakes that make simple nails look messy
Even easy designs can lose their charm if a few basics go wrong.
Too much polish
Thick polish takes longer to dry and chips more easily. It also makes designs blur together, which is frustrating when you’ve already spent time on them.
Skipping the base coat
A base coat helps the polish grip better and keeps staining down, especially with darker colors.
Trying too many ideas at once
One accent idea is enough. Two is sometimes enough. Five usually turns into visual noise.
Rushing the dry time
This is the big one. I’ve ruined more nails by being impatient than by making a bad design choice.
The good news is that simple teen nail art tends to forgive small mistakes. A tiny dot out of place is usually fine. A thick, crowded design is harder to save.
Picking the right style for your mood
Not every manicure has to say the same thing. Sometimes you want soft and cute. Other times you want something a little bolder.
Here’s a quick way to think about it:
| Mood | Best nail idea |
|---|---|
| Soft and sweet | Daisies, hearts, pearl details |
| Cool and simple | Black line art, French tips, chrome top coat |
| Playful | Polka dots, cherries, smiley faces |
| Low-effort | Jelly nails, clear accent nails, glitter fade |
| Colorful | Pastel rainbow tips, mismatched shades, candy stripes |
If you want more inspiration beyond this list, I also like browsing cute teen nail ideas to copy immediately when I’m stuck in a pastel rut. It’s useful for spotting combinations that look good together, not just on their own.
My favorite shortcuts for at-home teen nails
A few shortcuts make the whole process easier, especially when you don’t have a lot of tools.
- Use stickers for tiny details.
- Use clear top coat to smooth everything out.
- Keep one cleanup brush for edges.
- Choose 2 or 3 colors max for simple sets.
- Try accent nails instead of full-hand art.
That last one matters more than people think. One decorated nail can make the whole manicure feel finished without eating up your whole afternoon.
And if you’re the kind of person who likes to keep things playful, you can even borrow the same relaxed energy from funny taco puns worth stealing for a laugh and make your nail themes feel more personal. A little humor goes a long way when you’re choosing colors or tiny nail art details.
A few final thoughts before you paint
Simple teen nail ideas are usually the ones you end up wearing the longest. They fit school days, weekends, parties, and all the in-between moments where you just want your nails to look nice without thinking about them too much.
That’s what I keep coming back to. A cute manicure doesn’t need to be complicated to feel good. Sometimes the best result is just a clean base, one small detail, and a color you actually like looking at.
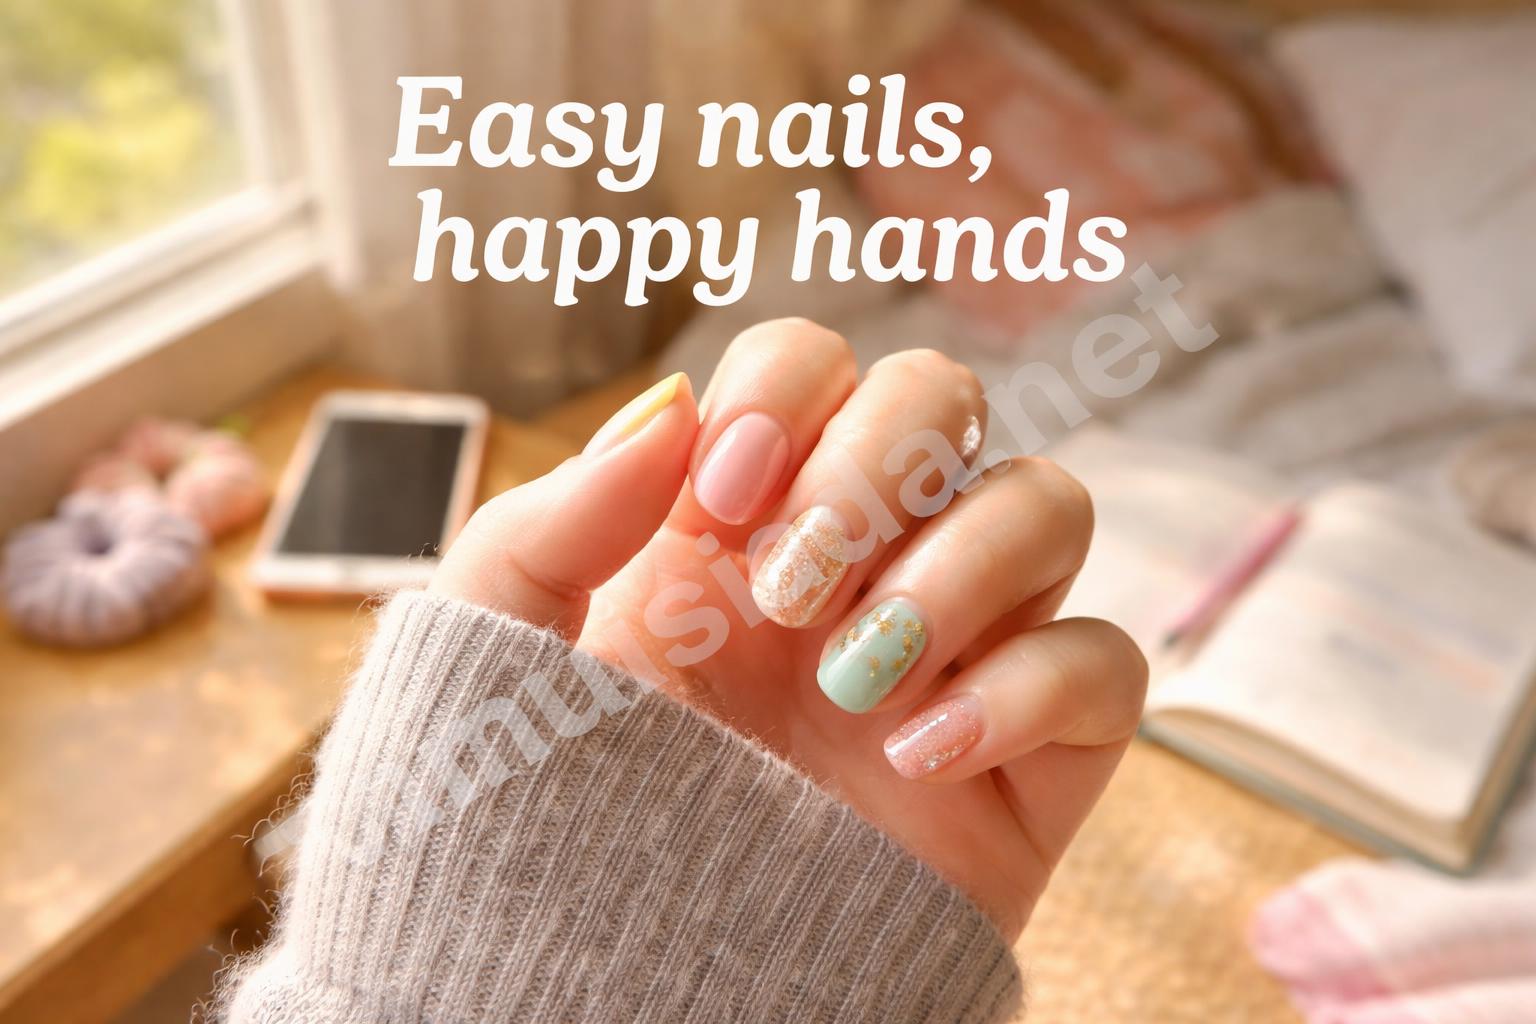
Save This Guide on Pinterest
Save this image to Pinterest so you can easily return to this guide later.